For the past few months I’ve been slowly working on a set of terrain inspired by the Orgoth invasion of Khador in the mkIV story. Reading the lore and the Black Tide campaign scenarios really made me want to build a cold, snowy coastline board to stage those battles.
It’s still not done, but as of this week it’s finally starting to come together enough that I want to start showing of my works in progress.
The boards is made of four 2-foot-by-2-foot squares, each based on MDF with inch-thick XPS foam. This way i can cut features like water and trenches down into the foam, so they sit below ground level. I can also continue making new 2-by-2 segments that can swap in.
For the coastline, I painted a flat picture of the ocean and beach onto some 2-by-2 MDF squares without foam. I built a set of modular snowy edge-hills (i.e. hills that are flat on 1 or 2 sides) that can be plced on the landward side of the shore boards in different configurations, to match up with the height of the neighboring inch-thick-foam boards. By rearranging these edge hills, I can set up different shapes of coastline, such as a peninsula:
When the campaign moves away from the coastline, I can swap out the 2 ocean 2x2s for 2 more snow country 2x2s. The one at the bottom right has a sunk-in pond filled with resin. My plan is to make it partly frozen over. I’m still experimenting with different ways to make a cracked ice layer for the top.
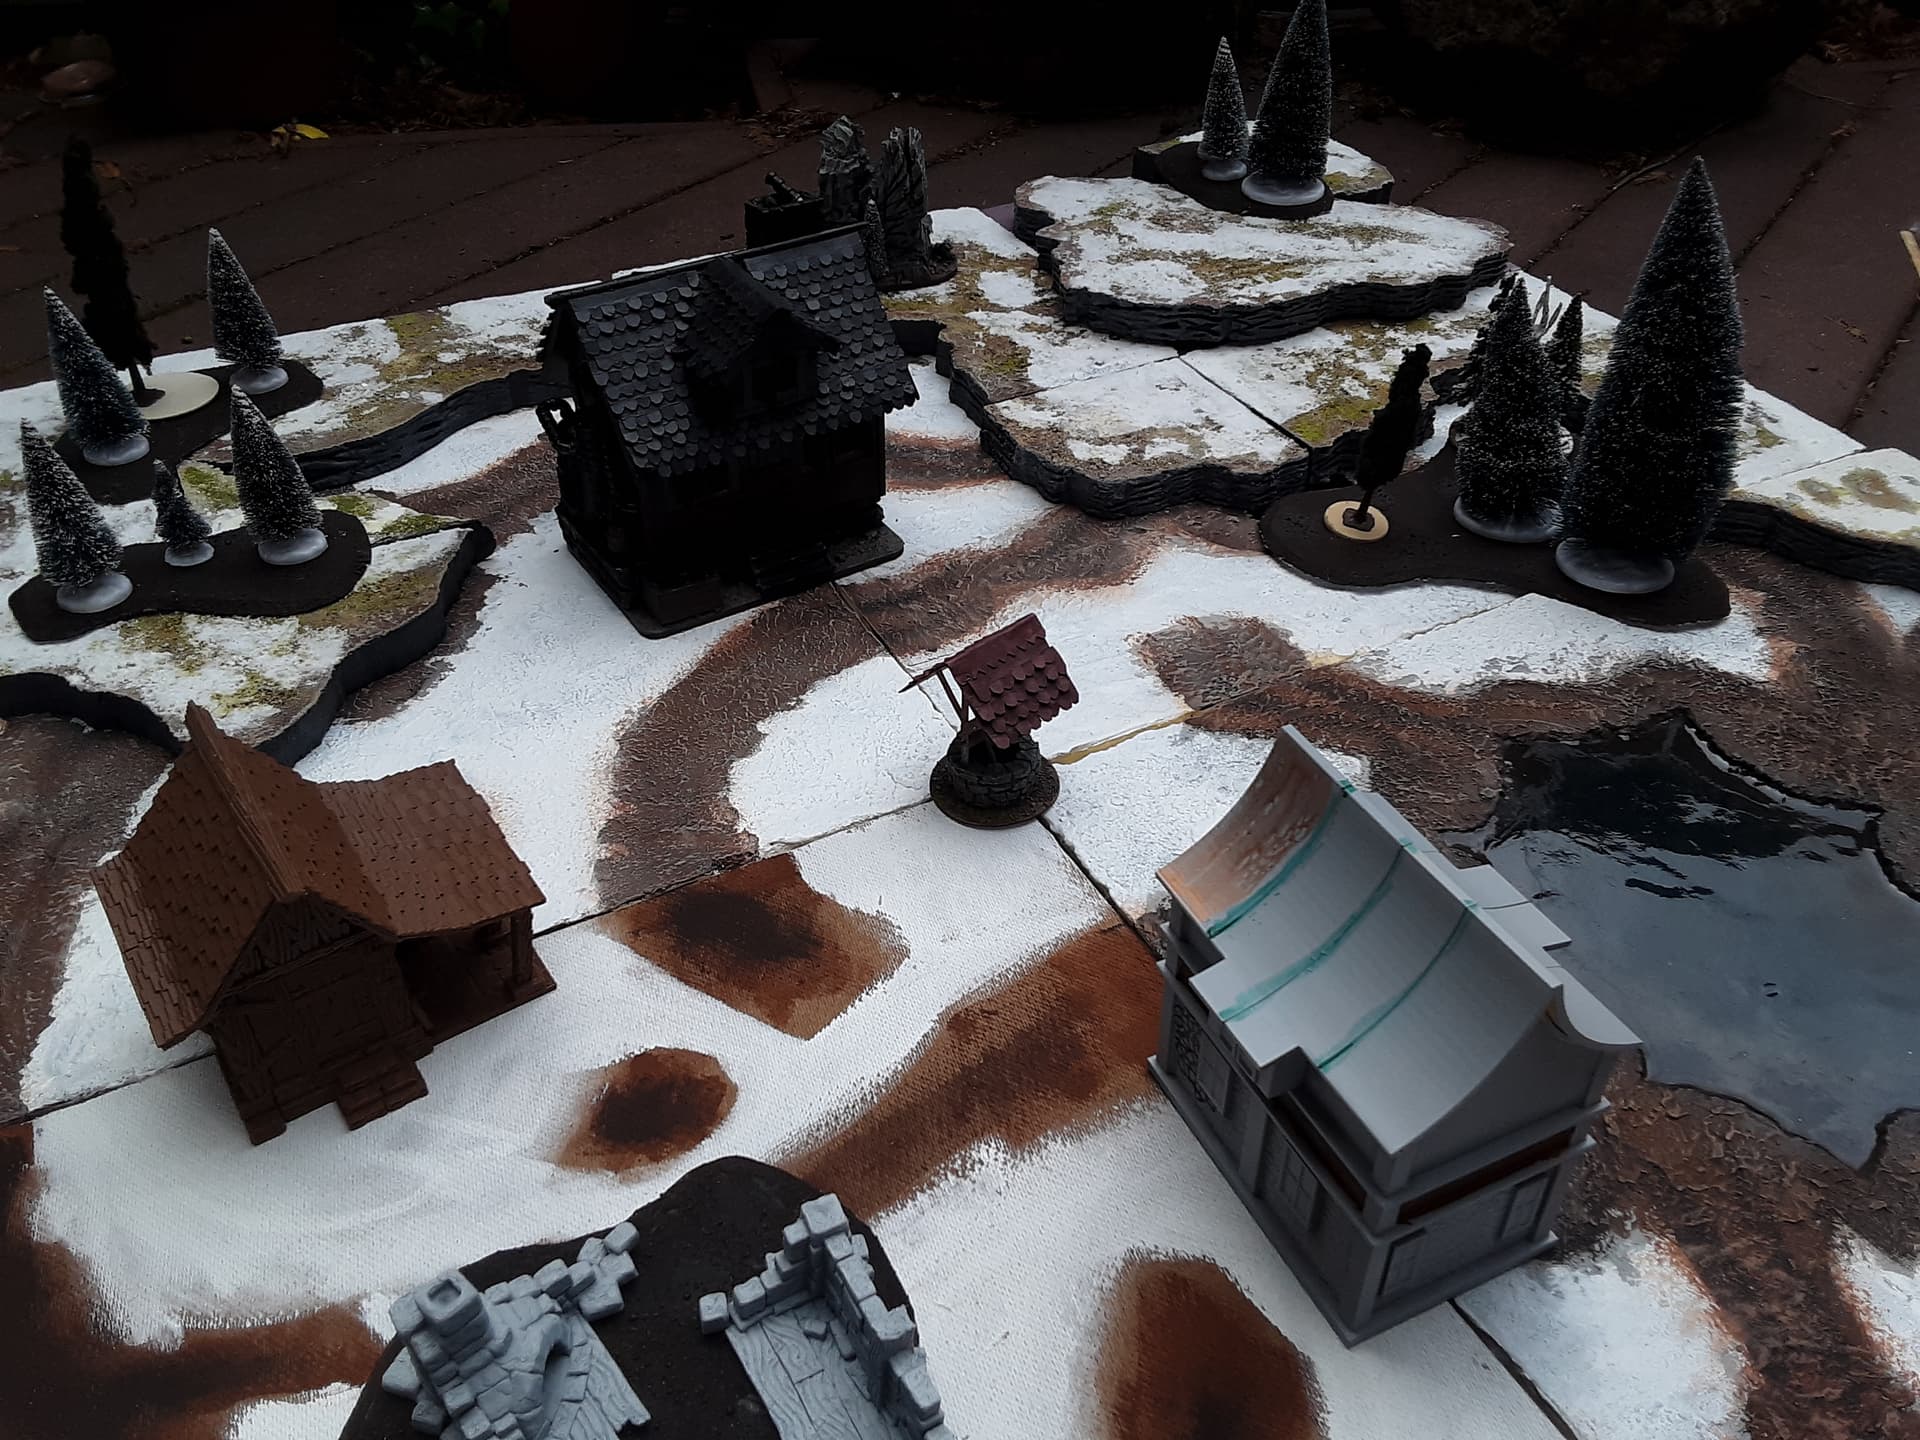
Here I have set up a little village in the snowy woods. (None of the buildings are painted yet… I’ll need to work on that). I can take the modular edge-hill segments that were part of the coastline, and set them up along the edge or corner of the board, stacking them in multiple layers to make a large hill.
Each 2x2 board has non-snow-covered dirt areas 3" wide along the edge set 6" in from each corner. This way, no matter how I place the boards, the dirt areas and snow areas will line up. I painted two darker brown lines in each patch of dirt to imply wagon ruts in a dirt road.
Two of the 2x2 boards have sunk-in trenches. 3" wide, same as a standard trench template, and an inch deep, lined with coffee stir sticks. (You didn’t see these trenches in the previous picture because I used hills to cover over them.) They line up with each other when the boards are placed like this, but the trenches could also go in opposite corners for a more symmetrical battlefield. (And if I make 2 more trench 2x2s then I can create the perfect setup for Black Tide battle 3.)
I put some craters, barbed wire, sandbags, rubble, my Khador bunker, and a cannon to create a place where Khador has dug in for a pitched battle to defend their land.
This is awesome! My buddy Dustin is working on a similar table, but his is more geared towards the shoreline, cratered beach, etc. Interesting to see different people’s takes on an idea.
Oh man Warcraft 2! That takes me back. That was the first game I ever played in online multiplayer. Back when you had to set up your modem to direct dial your friend’s phone number, and then if anybody in the house used the phone for a phone call it would drop your game. (I’m old)
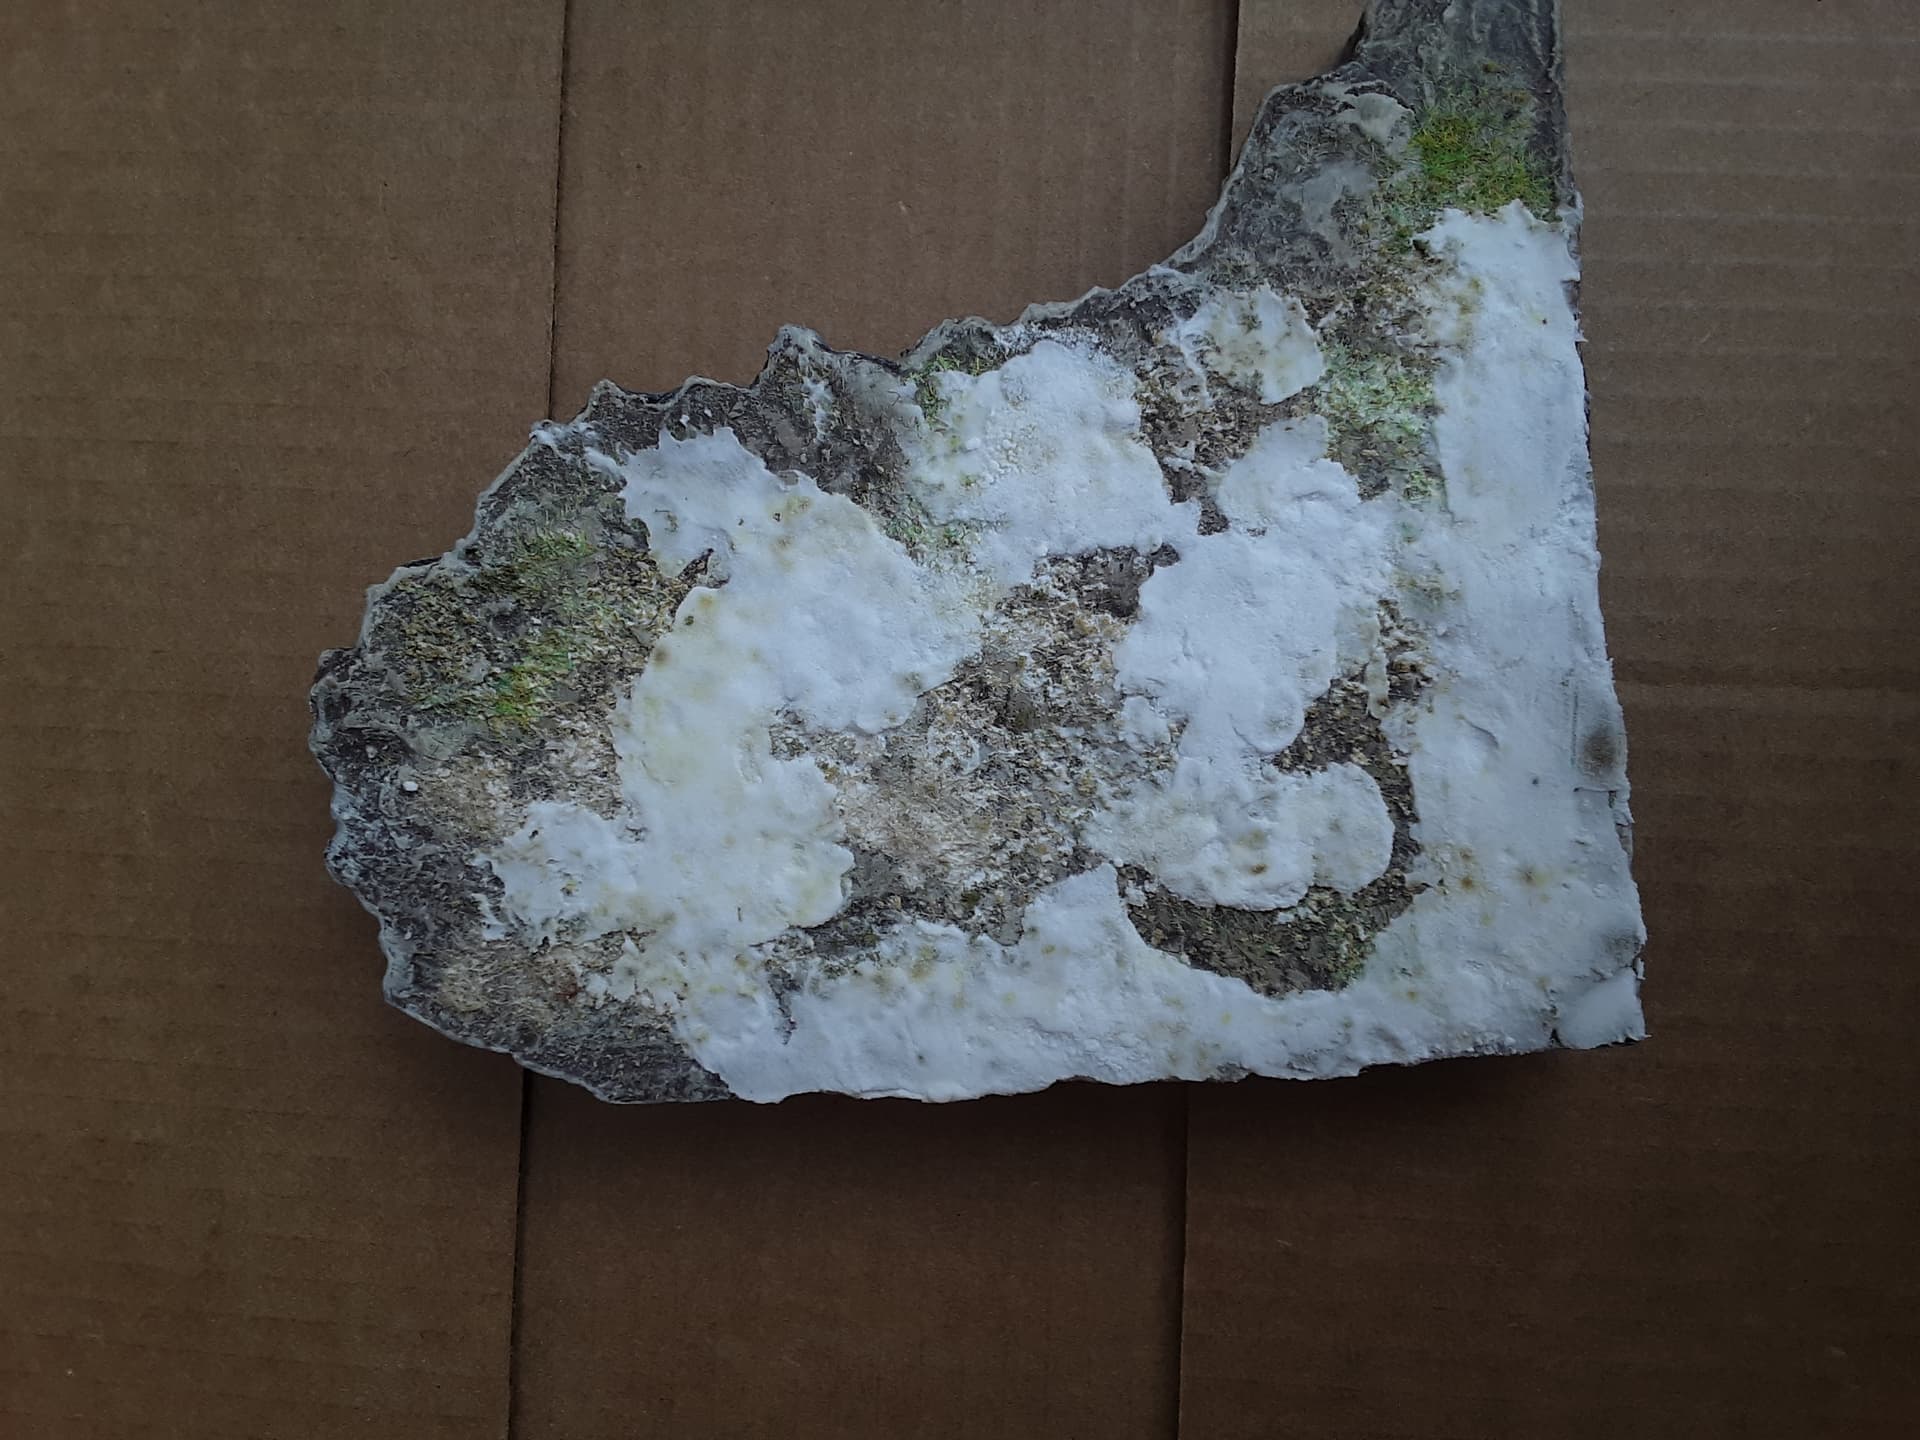
Then I texture the top surface using Durham’s Rock-Hard Water Putty : https://www.homedepot.com/p/Durham-s-Rock-Hard-DU-4-4-lb-Water-Putty-DU-4/202535298 - mix it with water, slop it on, and then before it dries all the way I stipple it with a wet wad of paper towel to give it some texture. It dries to a very durable, sandable, paintable surface.
The final battle of the Black Tide story campaign calls for a giant castle wall that stretches across all 4 feet of tabletop. Naturally I’m thinking ahead to how to construct a suitably dramatic centerpiece. But of course I want to do it in a modular way so it’s useful for more than this one scenario.
With the gate taking up the center 12" of table, that leaves 18" of wall on either side. (18+18+12 = 48). I figured that if I make four 6-inch wall sections and four 3-inch joiners between them, then each flank’s 18-inches can be made of two walls and two joiners.
Each “joiner” is a 3" square pillar that can either be part of a straight line wall, OR it can be a corner. By using these as corners, I can arrange the wall pieces into a large rectangular castle, a zig-zag, or various other shapes.
Here’s the first 6" wall segment. It’s 5" high, made of pink XPS foam, and on a 6"x3" base of plywood. The top surface has 2.5" width for minis to stand on (big enough for a large base to stand comfortably) plus half-an-inch width of crennelations. Merlons? Battlements? whatever you call those.
I textured it by rolling a ball of aluminum foil over it, then drawing brick lines in with a ballpoint pen.
At left you can see one of the joiners. I used some rare earth magnets to make them stick together better - there’s one an inch from the top and one an inch from the bottom. The wall segment has one polarity and the 3" joiner has the opposite polarity, so you always stick them together wall-joiner-wall-joiner.
What’s left is to mass produce the rest of the pieces, and then decide what I’m doing for the gate itself. It could either be a single 12" terrain piece, or it could be a 6" gate segment between two 3" joiners, with the joiners counting as part of the gate for scenario purposes. The first would look cooler, but the second would be more reusable plus easier to store and transport.
These two 500g oatmeal containers are just about the right size to use as round towers flanking the gate. They’re 4" diameter so that only leaves 4" for the door/portcullis itself, which is a little tight but could work.
Meanwhile, I’m going to be playing my first game on this table tonight! Very excited.
I don’t want to have a bunch of snow flaking off the snowy hills when we start moving models across them, so last night I decided I had better seal them.
spraying some watered-down PVA and sprinkling a mix of Woodland Scenics coarse yellow turf, coarse dark green turf, yellow and green static grass.
spraying IPA over the turf to help the glue soak into it
after that dried, aggressively rubbing off loose turf/grass
Spreading some Golden brand Light Modeling Paste randomly over the ground. (I learned about this stuff from Miniac’s youtube video about different snow materials: The BEST DIY Snow?! - YouTube )
wetting my fingers and smoothing out the paste
sprinkling baking soda over the top of it for a more powdery look, then shaking off the extra
It’s a couple days later and before varnishing I thought I’d better brush off any baking soda that’s still loose. I brushed it with a make-up brush and a surprising amount came loose:
The varnish re-wetted the baking soda and made it dry pretty hard and smooth. Between this and the makeup brush, the hills have lost a lot of their nice powdery texture. Unfortunate. But the varnish is necessary to stop the baking soda from flaking off, and from yellowing over time. At least the varnish gives us a hard and, above all, FLAT surface for minis. Playability > aesthetics!
I so love that waterline; I’d been pondering making a new game board again (even if we haven’t played in years), and I’d been thinking of doing a water area, too. Could you maybe post a step-by-step of how you painted the waterline (I think I can see how you did it, but I’m not good enough at this to have full confidence in replicating it just from the look of the finished product)?